- Halogen bulbs last about 1,000 hours, needing replacement every 5–6 years.
- Oil from touching the glass causes hot spots and premature burnout.
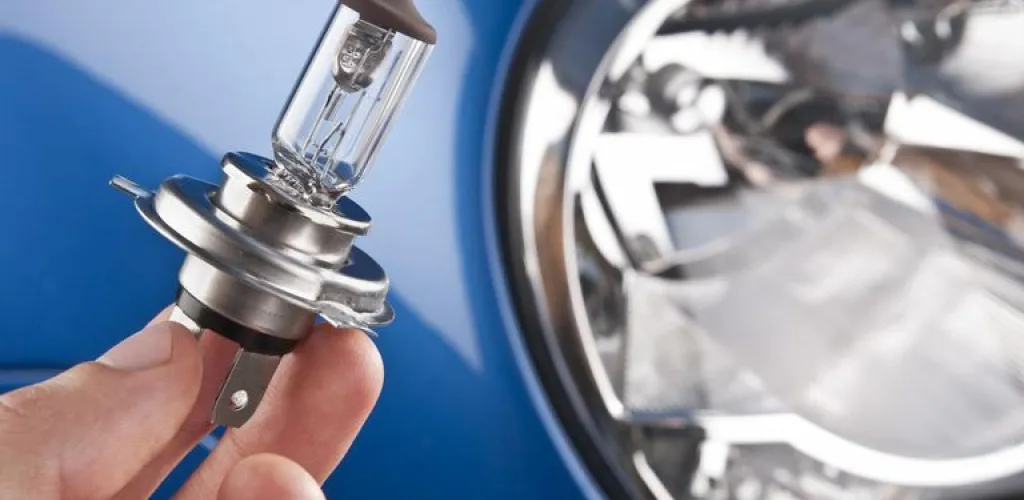
- Always handle bulbs with gloves and avoid touching the glass to prevent contamination.
- If new bulb won’t light, check electrical connectors, wires, fuses, and switch.
Frequent headlight bulb burnout is a common issue affecting many drivers. If you’ve ever changed a bulb only to have it burn out again shortly after, or if you notice that replacing the left-side bulb leads to the right-side bulb burning out quickly, you’re not alone. This frustrating situation has specific causes and practical solutions.
When bulbs burn out much earlier than this estimated period, there are disruptive factors that accelerate wear.
Normal lifespan of headlight bulbs
Halogen bulbs are the most widespread in the automotive industry due to their simplicity, affordable price, and durability. Under normal operating conditions, these bulbs are rated for about 1,000 hours of operation. For a driver who travels 10,000-15,000 km per year, bulb replacement should be necessary every 5-6 years.
When bulbs burn out much earlier than this estimated period, there are disruptive factors that accelerate wear.
Main cause: oil contamination
Common mounting mistake
The most frequent reason for premature halogen bulb burnout is touching the glass surface with bare hands during installation. Human skin naturally secretes oils that protect it, but these substances, once on the bulb surface, create hot spots that lead to localized overheating.
Effects of contamination
When the bulb is lit, the areas contaminated with oil heat up more than the rest of the surface, creating thermal stresses in the glass. This thermal non-uniformity leads to bulb cracking or filament burnout in overheated areas.
Correct mounting procedure
Required equipment
- Nitrile or latex gloves
- Clean, dry cloth
- Isopropyl alcohol for cleaning
Steps to follow
- Check the electrical connector before installing the new bulb
- Always wear gloves or use a cloth for handling
- Hold the bulb only by the metal base if you don’t have gloves available
- Completely avoid touching the glass with your skin
- Wipe the bulb with alcohol if it has been touched accidentally

Electrical problems associated
Diagnosing faults
If the newly installed bulb does not light at all, the issue is electrical rather than mechanical:

- Faulty connector - check if pins are corroded or bent
- Broken wire - inspect circuit continuity
- Fuse issue - inspect the fuse box
- Switch malfunction - test the headlight switch operation
HID bulbs: a different technology
Operating principle
HID bulbs operate on the basis of an electric arc generated between electrodes inside a high-pressure gas capsule. This technology provides a higher light output than halogen bulbs and a longer life.
HID system components
The HID system includes:
- Bulb - contains the gas and electrodes
- Starter (ballast) - regulates current and voltage
- Wiring specific to HID requirements - adapted to HID needs
Failure characteristics
In integrated HID systems, the bulb and ballast form a single unit. When one component fails, the entire system must be replaced. In systems with separate components, diagnosis becomes more complex:
- Identical symptoms - whether the bulb or ballast fails
- Professional diagnosis required - to identify the faulty component
- Repair costs vary - depending on the affected component
Safety measures in emergency situations
Procedure to follow
- Activate headlights immediately for visibility
- Turn on hazard lights to warn other road users
- Reduce speed and find a safe place to stop
- Do not continue driving without adequate lighting
Preventing common problems
Regular inspection
- Periodically check bulb condition
- Clean connectors from corrosion and dirt
- Test lights in sequence
- Replace bulbs in pairs for uniformity
Choosing the right bulbs
- Follow the manufacturer’s specifications for power and type
- Avoid dubious-quality bulbs that burn out quickly
- Consider upgrades to LED for increased durability
Understanding the causes of frequent bulb burnout and applying the correct mounting procedures can eliminate this frustrating issue. Investing in a set of gloves and paying attention to detail will save you time, money, and nerves in the long run.