- Access wiper system by removing the scuttle cover to reach the motor
- Use a tubular wrench to remove the central nut, then run wipers to the baseline
- Manually position blades parallel to the lower windshield edge and reassemble, then test
- Test wipers at different speeds to ensure correct stoppage position
Introduction When the windshield wiper position is incorrectly calibrated, the blades stop in a misaligned orientation, usually higher than their normal resting position. This issue not only reduces the driver’s visibility but can also be dangerous in adverse weather conditions.
The problem can arise from several causes: natural wear of components over time, replacing the wipers, or subjecting the system to higher-than-normal pressure. Fortunately, resetting the wiper position is a relatively simple operation that can be done without consulting a mechanic.
What you need for this operation
Before you begin the reset process, make sure you have on hand:
- A tubular wrench of the appropriate size for the wiper motor nut
- Possibly a screwdriver set (depending on the type of cap fastener)
- A well-lit workspace to work safely
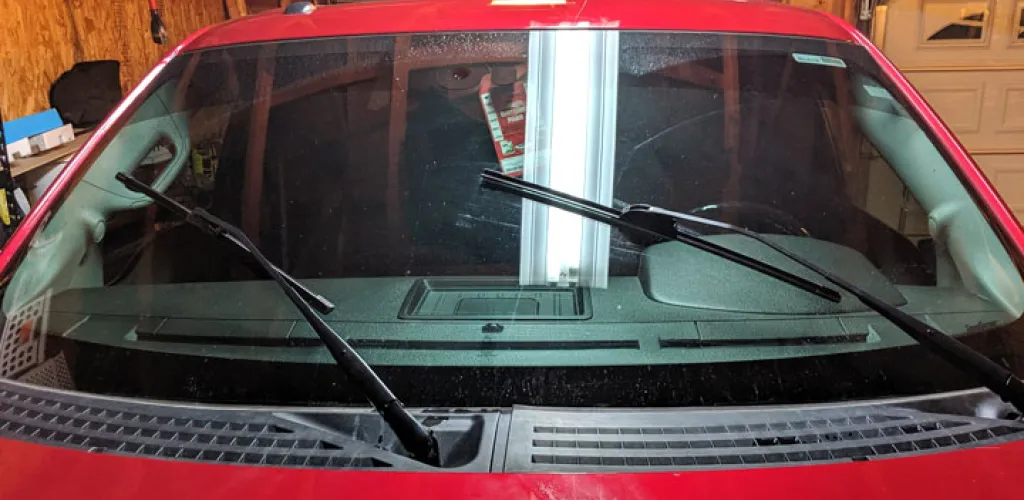
Step 1: Accessing the wiper system
The first step involves removing the plastic cover located between the hood and the windshield, which hides the wiper motors and arms. This cover, also known as the “cowl cover” or “scuttle panel,” is usually secured by:
- Plastic clips that can be removed by pressing
- Self-tapping screws that require a screwdriver
- A combination of both systems
Removing this cover does not require specialized tools and can be done by anyone with a bit of patience. Be careful not to force the plastic clips, as they can break easily.
Step 2: Disconnecting and calibration
Once you have access to the wiper system, proceed to the most important part of the process:
-
Locate the central nut of the motor that controls the wiper. This nut connects the wiper link arm to the motor that drives it.
-
Use the tubular wrench to completely remove the nut. It is important to remove it completely, not just loosen it.
-
Start the vehicle’s engine and activate the wipers for a full stroke. The blades will move freely, without restrictions, since the joint has been disconnected.
-
Stop the wipers when they reach the baseline position (the lowest).
Step 3: Correct positioning and reassembly
This final step is crucial for the system to operate optimally:

Positioning the blades
- Manually place the wiper blades in the desired position, the correct one
- They must be parallel to the lower edge of the windshield
- The blades should rest horizontally, without extending into the wiping area
- The distance from the edge of the windshield should be uniform for both blades
Final fastening
- Reconnect the wiper linkage, ensuring that everything is properly aligned
- Reinstall the nut and tighten it with the tubular wrench until the connection is firm, but without over-tightening
- Test the system by running a few complete wiping cycles to verify that the blades stop at the correct point
Final check and reassembly
Before considering the operation complete:
- Test the wipers at different speeds (slow, fast, intermittent)
- Check that the wiping area covers the windshield surface uniformly
- Ensure there are no unusual noises or vibrations
- Reinstall the protective cover, making sure all clips or screws are securely fastened
Maintenance tips for the wiper system
To avoid repeating this problem:
- Replace the blades periodically (every 6-12 months, depending on use)
- Clean the blades and windshield regularly of debris
- Avoid using the wipers on a dry windshield
- Check the windshield washer fluid level and top up when necessary
- In winter, ensure the wipers are not frozen before use
This reset procedure can be applied to most vehicles, regardless of make or model. However, if the problem persists or you notice the wiper motor making unusual noises, it is recommended to consult a specialized mechanic, as the issue may be more complex and may require replacement of certain components.