- Valve replacement costs around 20 RON and takes under 10 minutes.
- Needed tools: valve core tool, safety glasses, soap solution, spare valve.
- Confirm leaks with bubble method (soap and water) before replacing.
- Deflate, remove tire, install new valve, inflate, then recheck for leaks.
Pardoning slow air loss from a tire can be caused by a faulty valve, a common but easily fixable issue. Replacing the valve is one of the simplest repairs you can perform yourself, saving you time and money. While a mechanic might charge between 150-200 RON for this operation, you can do it for about 20 RON in under 10 minutes.
What tools you need for valve replacement
To repair the tire valve you’ll need specific tools, available at any auto accessory shop. The main instrument is the valve core tool, easily recognized by its cross-shaped head. This specialized tool allows safe removal and installation of the valve without damaging the system.
Tools required:
- Valve core tool (cross shape)
- Safety glasses
- Water and dish soap mixture
- Spare new valve
Diagnosing problems with the tire valve
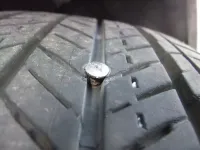
Before proceeding with replacement, it’s essential to confirm the valve is indeed the source of the problem. The first step in valve replacement is accurately checking air leaks using the bubble method.
Remove the valve cap and apply a mixture of water and dish soap to the valve area. If you see bubbles forming, this confirms air leaks through the valve. This simple diagnostic method will save you time and effort in precisely identifying the issue.
Step-by-step replacement process
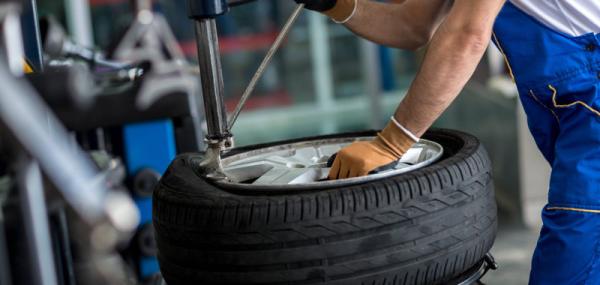
Preparing the tire
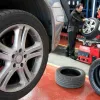
As soon as you locate the leak, deflate the tire completely for your safety. It is recommended to remove the tire from the rim to access the valve more easily and to avoid risks associated with working on a tire under pressure.
Important: Never attempt to repair the valve while the tire is mounted and under pressure, as this exposes you to a major accident risk.
Removing the old valve
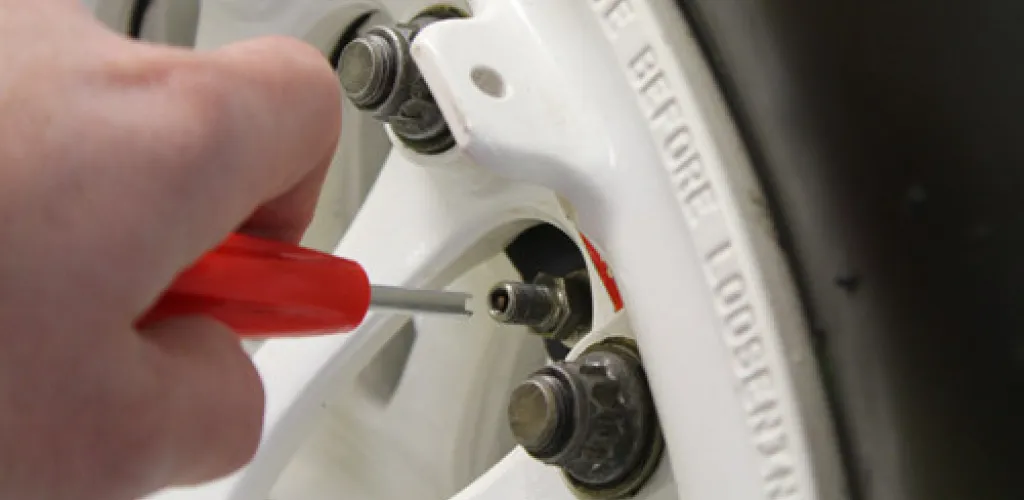
Use the valve core tool to unscrew the valve once the tire has been fully deflated. Ensure there is no air left in the tire before proceeding. Always wear safety glasses when replacing a tire valve to protect yourself from potential projections.
Cleaning and preparation
Use the tool to remove any dirt or debris from the valve threads. Remove all impurities or anything that could obstruct the opening. A thorough cleaning ensures a perfect seal for the new valve.
Installing the new valve
Use the same end of the valve tool to install the new valve. Screw it in by hand until it makes contact, then tighten moderately with the tool. Be careful not to over-tighten, as this can damage the threads or cause sealing issues.
Finalizing the repair
Once the valve is correctly installed, inflate the tire to the manufacturer’s specified pressure. Recheck with the water and soap solution to confirm there are no leaks.

This concludes the tire valve repair. Do not buy new tires if you can simply repair the valve. You will save both time and money.

Patch or plug for tires – which is the best solution?
Many drivers face the dilemma of choosing between tire patches and plugs when dealing with punctured tires. This technical debate involves multiple safety and efficiency considerations.
To date, tire experts have varied opinions on this issue. A detailed analysis of both methods can clarify which procedure to follow when faced with a puncture.
Effectiveness of tire plugs
Less experienced mechanics might recommend tire plugs as the most economical solution available. This approach has its specific advantages in certain situations.
When the car punctures in the middle of the road and you need a quick repair to reach your destination, a cheap plug can be a lifesaver. The low cost of 20-30 RON and the minimal installation time (a few minutes) make it attractive for emergency situations.
Advantages of plugs:
- Plug technology has improved significantly in recent years
- A quality tire plug can last several weeks
- Quick installation in emergency conditions
- Low cost and easy access
Limitations of the plug method
Although a tire plug may seem simple, different road agencies have repeatedly warned about the limitations of this repair type. In many situations, a tire plug does not perform as expected.
Situations where a plug is not effective:
- A large hole in the tire’s sidewall may only be sealed with a professional patch
- An irregular or L-shaped puncture requires a patch for a durable repair
- Multiple punctures in the same area cannot be repaired with a plug alone
Additional problems with tire plugs
Road safety experts often prohibit applying a plug without a complementary patch. A careful inspection may uncover additional issues not seen on the first assessment.
Risks of using a plug alone:
- Internal degradation of the tire may be masked
- High-speed resistance may be compromised
- Long-term durability is questionable
The best practice, obviously, is to combine a plug with an interior patch. This method stabilizes the puncture and fully repairs the damage, providing maximum safety.
Managing major tire punctures
If you have solid knowledge of tire safety, you know that certain damages are completely unreparable by conventional methods. A hole larger than 6 mm in diameter requires alternative solutions beyond a patch or plug.
Options for major damage:
- Using the spare tire for short distances
- Purchasing a new tire for maximum safety
- Consulting a tire specialist for professional evaluation
You should always consult your mechanic to identify the safest and most sustainable solution for similar future issues. Professional experience can prevent dangerous situations and additional costs.
Final recommendations:
- Ask the mechanic which is the safest repair method for your specific case
- Road safety is the top priority when repairing tires
- Never compromise safety for temporary savings
- Invest in high-quality tools for emergency repairs
Photo sources: youtube.com, newbowaerospace.com, aroexpress.com