- DIY brake pad replacement saves labor costs when done at home.
- Essential tools and materials include jacks, chocks, wrenches, caliper tool, pads, and fluid.
- Let brakes cool completely and park on a flat surface before work.
- Lift vehicle with proper points and jack stands; remove the wheel safely.
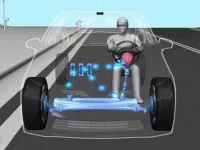
Replacing brake pads is one of the maintenance tasks every driver with a passion for mechanics should know. This critical component of the braking system wears naturally due to constant rubbing against the rotor, and periodic replacement becomes inevitable for road safety.
While you can always rely on a professional mechanic, labor costs can be considerable, especially if the procedure is repeated at regular intervals. With basic technical knowledge and the right tools, you can save substantial money by learning to perform this operation in your own garage.
Tools and materials needed
Essential Tools:
- Car lift or hydraulic jack with appropriate capacity
- Wheel chocks (mandatory for safety)
- Set of combination wrenches and sockets
- Brake piston caliper compression tool
- Flashlight or work lamp
- Torque wrenches for proper tightening
Materials and consumables:
- New brake pad set compatible with the car model
- Brake fluid (to top up if necessary)
- Wire for supporting the caliper
- Nitrile gloves
- Clean rags and old newspapers
- Degreaser spray for cleaning components
Vehicle preparation
Crucial safety measures: Do not attempt to work on the braking system immediately after driving. The discs and pads reach temperatures above 300°C during intense braking, and direct contact can cause severe burns. Let the vehicle cool completely, preferably overnight.
Park the car on a perfectly flat and stable surface, away from traffic. Engage the parking brake and set the gear to 1st (for manual transmissions) or Park (for automatics) to prevent accidental movement.
Lifting and securing the vehicle
Raise the vehicle using the lifting points specified in the service manual. These are usually marked on the body and are designed to bear the weight without deforming. Using the wrong points can lead to costly structural damage.
After lifting to the desired height, place the jack stands obligatorily. Do not work only with the jack — it can fail and cause deadly accidents. Test stability before starting.
Remove the wheel lug nuts in a criss-cross order to avoid warping. Store them in a safe place to prevent loss.
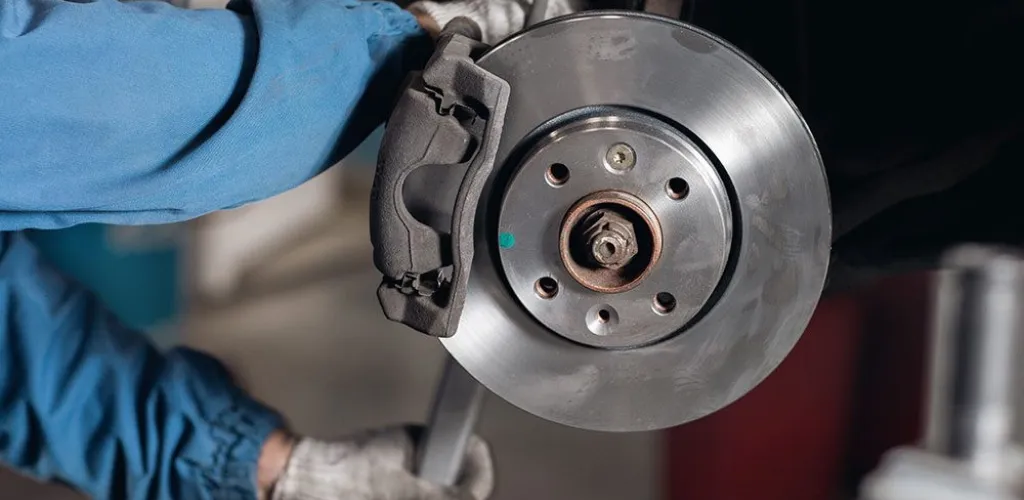
Removing the brake caliper
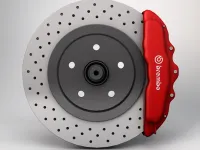
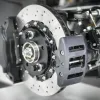
With the wheel removed, the brake rotor becomes visible. The Brake caliper is the metal component that surrounds the rotor and houses the brake pads.
Identify the two caliper mounting bolts, usually located at the rear. They are often protected with rubber boots that must be removed first. Use a wrench of the appropriate size to unbolt them, applying force counterclockwise.
Special caution for rear brakes: If you are working on rear brakes, ensure the parking brake is fully released. Some vehicles have parking brake integrated into the rear caliper, requiring special unlock procedures.
After removing the bolts, the caliper will detach from the brake rotor. Do not let it hang from the brake hose — this can damage the hose or fittings. Use the prepared wire to suspend it from a fixed point on the suspension.
Replacing the brake pads
Document the initial position: Before removing the old pads, photograph or sketch their exact position. This will help during reassembly and prevent confusion.
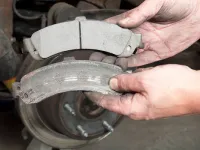
Carefully remove the worn pads from the brake caliper. Observe how the return springs and guide elements are oriented — they must be reinstalled identically.
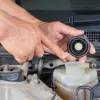
Brake piston compression: Before mounting the new pads (which are thicker than the worn ones), the piston in the caliper must be compressed to make room. Use the special clamp for this operation, applying pressure evenly and gradually.
Note: As you compress the piston, the brake fluid level in the reservoir will rise. Check and bleed off the excess if necessary to prevent overflow.
Mount the new pads exactly in the same position as the old ones, ensuring the springs and guides are correctly positioned.
Reassembly and final checks
Reposition the caliper over the brake discs and the new pads. Applying a small amount of brake paste on the mounting bolts can help prevent sticking in the future.
Tighten the caliper bolts to the torque specified in the service manual — typically between 80-120 Nm, depending on the vehicle. Do not overtighten — this can crack the caliper or damage threads.
Remount the wheel and tighten the lug nuts in a criss-cross order to the specified torque (usually 80-110 Nm for passenger cars).
Bedding-in procedure and checks
Initial test: Before lowering the vehicle from the stands, press the brake pedal a few times to bring the pads into contact with the rotor. The pedal should firm up gradually.
Brake pad bedding: New pads require a bedding-in period of approximately 200-300 km. During this period:
- Avoid sudden and strong braking
- Brake progressively and anticipate
- Do not exceed 80% of braking capacity
- Periodically check rotor temperatures after braking
When not to attempt this procedure
Do not attempt to change brake pads if:
- Brake discs have deep scratches, cracks, or warping
- There are brake fluid leaks
- The braking system was malfunctioning before the intervention
- You lack experience or appropriate tools
A problem at the rotor level usually indicates more serious issues in the braking system that require a specialist.
Tips for saving costs
This procedure, while it may seem complex, can be learned relatively easily and can save 200-400 RON per service, depending on the vehicle. With experience, the time required drops from 2-3 hours (the first time) to about one hour for all four wheels.
The initial investment in tools pays off quickly, and the satisfaction of maintaining your own vehicle is priceless for any automotive enthusiast.