- Wrong charging harms plates, causes electrolyte evaporation, and shortens life
- Use a three-stage charger, safety gear, and good ventilation
- Remove the battery from the vehicle and connect properly
- Charging voltage affects charging speed and battery lifespan
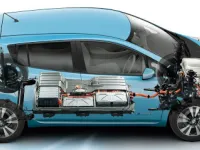
Lead-acid batteries are the heart of the electrical system in most modern vehicles. While rugged and reliable, these essential components can discharge completely for a variety of reasons—from electrical loads left connected to extreme temperatures or simple wear. When you find yourself in this situation, understanding the correct charging process becomes crucial for your safety and for extending the battery’s life.
Charging a sealed lead-acid battery follows principles similar to those of traditional vented batteries, but requires special precautions and proper equipment.
Why correct charging matters
A lead-acid battery operates based on chemical reactions between sulfuric acid and the lead plates. When the battery discharges, lead sulfate builds up on the plates, reducing energy storage capacity. A correct charging process reverses this, but a wrong charging approach can cause:
- Premature degradation of the internal plates
- Evaporation of the electrolyte
- Overheating and permanent damage
- Significantly reduced lifespan
Equipment needed and safety measures
Before starting, ensure you have all necessary equipment and that you follow fundamental safety rules.
Equipment needed:
- A three-stage charger designed for lead-acid batteries
- Safety glasses
- Rubber protective gloves
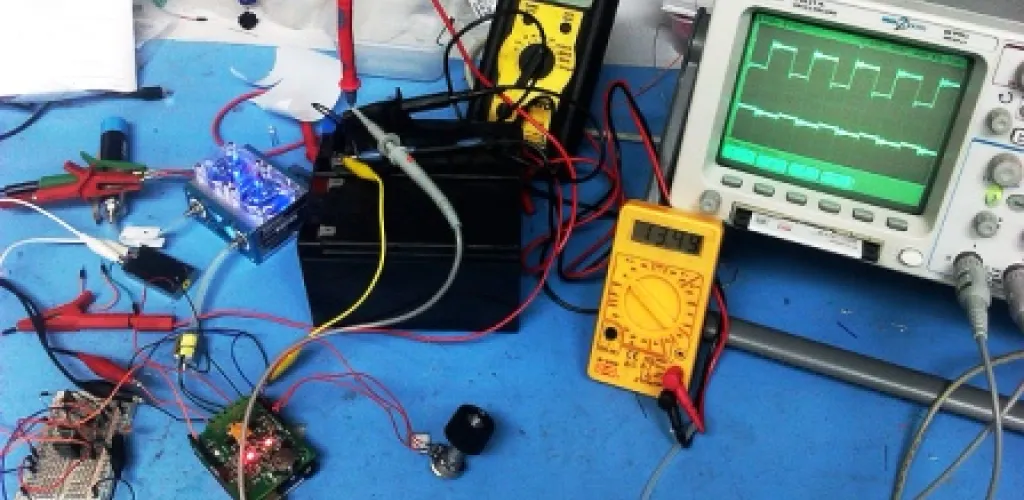
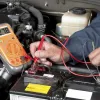
- A multimeter to check voltage
- Adequate ventilation in the work area
Essential safety measures:
Sulfuric acid in a battery is highly corrosive and can cause severe burns. Even sealed batteries can emit dangerous fumes during charging. Always work in well-ventilated areas and avoid open flames or sparks near the battery.
Step-by-step charging process
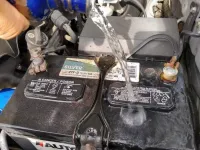
Step 1: Removing the battery
Remove the battery from the vehicle before charging. Charging a completely discharged battery through the car’s alternator can overload the vehicle’s charging system and damage both the battery and the alternator.
Procedure to remove:
- Stop the engine and remove the key
- Disconnect first the negative (-) cable, then the positive (+)
- Remove the battery mounting system
- Lift the battery by the side handles, not the cables
Step 2: Preparing the equipment
Use only a three-stage charger designed specifically for lead-acid batteries. This type of charger provides:
- Stage 1: Quick charge at a constant current
- Stage 2: Equalization charge at a constant voltage
- Stage 3: Maintenance at a low voltage
Important checks:
- Ensure the vent plug of the sealed battery is unobstructed
- Check the charger cables
- Do not start the charger before full connection
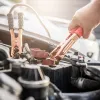
Correct connection:
- Connect the red wire (+) to the battery’s positive terminal
- Connect the black wire (-) to the battery’s negative terminal
- Check connections to avoid sparking
Step 3: Setting the charging voltage
The charging voltage determines both the speed of the process and the battery’s lifespan. For a 12V lead-acid battery (6 cells), you have the following options:
Fast charging (2.40–2.45 V per cell):
- Maximum charging speed
- Higher risk of damage
- Recommended only in emergencies
Optimal charging (2.30–2.35 V per cell):
- Best balance between speed and durability
- Recommended for regular use
- Longer charging time, but longer battery life
Automatic charging phases
Initial phase (up to 5 hours): In the first hours, the charger delivers a constant current, bringing the battery to about 70% capacity. Monitor the battery temperature—do not let it overheat.
Equalization phase (6–10 additional hours): The charger automatically lowers the voltage and continues charging at a slower rate. This phase is crucial for full and uniform charging of all cells.
Maintenance phase: Once the battery is fully charged, the charger automatically switches to a low-maintenance voltage, preventing self-discharge.

Reinstalling and completing the process
Reinstallation procedure:
- Turn off the charger and disconnect the cables
- Check the battery voltage with a multimeter (it should be above 12.6 V)
- Clean the battery terminals and the vehicle terminals
- Reinstall the battery in the vehicle
- Connect the positive cable first (+), then the negative (-)
- Apply grease to the terminals to prevent corrosion
Maintenance and extending battery life
For vehicles used regularly:
- Check the voltage monthly with a multimeter
- Clean the terminals every 3–6 months
- Avoid discharge below 12.0 V
For stored vehicles:
- Recharge the battery every 2 weeks
- Use an automatic maintenance charger
- Disconnect permanent electrical loads
Avoiding complete discharge
Complete discharge is one of the biggest enemies of lead-acid batteries. When the battery discharges below 11.8 V:
- Lead sulfate crystallizes on the plates
- The plates corrode irreversibly
- After about 10 complete discharges, the battery becomes unusable
Signs that the battery needs replacement
Even with proper maintenance, batteries have a limited lifespan. Replace the battery when:
- It no longer holds a charge above 12.4 V after a full charge
- Charging time has doubled from normal
- The case shows cracks or deformations
- The terminals are severely corroded and cannot be cleaned
Tips to maximize performance
- Optimal temperature: Keep the battery at moderate temperatures. Cold reduces capacity, while heat accelerates degradation.
- Preventive charging: Don’t wait for the battery to discharge completely. Charge when voltage drops below 12.4 V.
- Quality charger: Invest in a quality charger with automatic features. Long-term savings justify the initial cost.
- Regular monitoring: Check the battery condition monthly and don’t ignore signs of weakening performance.
Charging a lead-acid battery correctly is not just about plugging into a charger. It is a process that requires understanding, patience, and adherence to safety procedures. By following these steps and tips, you will significantly extend the battery’s life and avoid unpleasant situations on the road.
Photo source: youtube.com, upsbatterycenter.com