
- Symptoms indicate booster issues: hard pedal, incomplete pedal return, or idle RPM changes
- Preparation checks include hoses, leaks, fluid level, and flat testing surface
- Step-by-step test: with engine off, evacuate vacuum, then start engine and watch pedal drop
- Evaluation: normal booster causes pedal to rise or firm up with each press
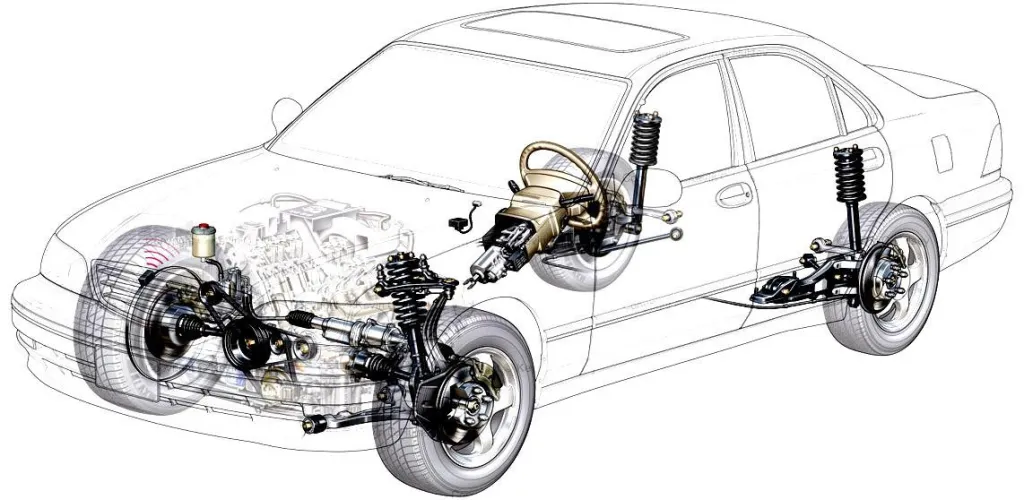
Testing the brake booster is crucial because it amplifies the force you apply to the brake pedal. A faulty brake booster can seriously compromise stopping power and safety. Early recognition of brake booster issues can save lives and prevent costly repairs.
This guide covers common symptoms, a practical at-home testing method, and when to seek professional service.
Symptoms of a faulty brake booster
Hard brake pedal
The most evident symptom of a faulty brake booster is the need to apply significantly more effort to depress the brake pedal. Under normal conditions, the brake booster amplifies the force you apply, making braking effortless and effective. When the brake booster isn’t functioning, the pedal will feel stiff, and you must press much harder to achieve the same braking effect.
Brake pedal does not return completely
A brake booster that doesn’t operate properly can cause the pedal to not return fully after releasing it. This occurs due to loss of vacuum in the booster, which normally helps return the pedal.
Changes in engine RPM
A less obvious but important symptom is a drop in engine RPM when you release the brake pedal at idle. This happens because a faulty brake booster can cause unmetered air to enter the intake system.
Preparation for testing
Before starting tests, make sure:
- Brake hoses are in good condition and free from cracks or signs of wear
- There are no visible brake fluid leaks around the brake booster
- The brake fluid level in the reservoir is correct
- The vehicle is on a flat and safe surface
If all these elements are in order, but you still have braking problems, it’s very likely the brake booster is faulty.
Step-by-step testing method
This testing method is simple and can be performed by anyone, without special equipment:
Step 1: Initial preparation
Get behind the wheel and prepare the vehicle for testing:
- Move the car into neutral (manual) or Park (automatic)
- Engage the parking brake for safety
- Start the engine and let it run for 2-3 minutes to warm up
- Turn off the engine
Step 2: Initial pressure test
With the engine off:
- Press the brake pedal 3-4 times to evacuate any vacuum left in the system
- After the last press, keep the foot on the pedal with steady, moderate pressure
Step 3: Starting test
Now comes the critical part of the test:

- Start the engine while keeping your foot on the brake pedal
- Normal result: Once the engine starts, you should feel the brake pedal drop a few centimeters, indicating that the brake booster is creating vacuum and functioning properly
- Problematic result: If the pedal stays in the same position, the brake booster is not generating enough vacuum
Step 4: Return test
With the engine still running:
- Lift your foot off the brake pedal
- Stop the engine
- Press the brake pedal 4 times with normal, not too hard, force
Evaluation:
- Normal: The pedal rises progressively or becomes firmer with each press, indicating the brake booster preserves vacuum
- Problematic: If the pedal remains soft on all presses, the brake booster does not build vacuum
Step 5: Sealing test
This test checks if the brake booster can hold pressure:
- Start the engine again and let it run for a few seconds
- Press the brake pedal with moderate pressure
- Stop the engine while keeping your foot on the pedal
- Maintain pressure on the pedal for 30 seconds
Evaluation:
- Normal: The pedal holds its position
- Problematic: If the pedal gradually rises, the brake booster loses pressure and needs replacement
Advanced testing with specialized equipment
For more precise diagnostics, you can use:
Vacuum gauge and hand pump
If the basic tests indicate issues, you can use a vacuum gauge to measure the exact pressure inside the brake booster. A healthy booster should maintain a vacuum of approximately 18-22 inHg.
Checking the vacuum hose
Inspect the hose that connects the brake booster to the intake manifold. It should be:
- Free of cracks or perforations
- Well connected at both ends
- Free of oil or other contaminants
Signs of a completely faulty brake booster
While driving
If you notice the brake pedal is very stiff and requires substantial effort to brake effectively, this is a clear indication that the brake booster is faulty and should be replaced promptly.
Increased stopping distance
A faulty brake booster will lead to:
- Longer stopping distances
- Increased physical effort for the driver
- Higher risk of an accident, especially in emergency situations
When to go to a mechanic
Although the tests above can give you a clear picture of the brake booster condition, there are times when professional intervention is necessary:
- If the tests indicate problems but you are unsure how to interpret the results
- When you need a full diagnostic of the entire braking system
- For the replacement of the brake booster, which requires specialized knowledge and equipment
- If the vehicle shows other brake system faults
Safety measures
Important: If you suspect the brake booster is faulty:
- Avoid driving in heavy traffic until the issue is resolved
- Increase the following distance
- Anticipate braking and start braking earlier
- Schedule a diagnostic at a professional auto service as soon as possible
A faulty brake booster poses a major safety risk and should not be ignored. Early diagnosis and prompt repair can prevent serious accidents and save lives.